Live game
The live game screen is your sideline companion. It shows the current lineup laid out on the playing area, a countdown clock, suggested rotations (when applicable), and a scoreboard, all in one view. Here's how to use it.
The exact controls vary slightly by sport. Football's rolling-sub model surfaces a sub timer and SwapCard mid-quarter; netball's period-break model shows the next-quarter reshuffle at every break instead. Both share the same lineup picker, scoring controls, and player-actions sheet.
Before the game: the lineup picker
After marking availability, you're taken to the lineup picker. The app auto-suggests a starting lineup based on each player's cumulative position minutes from previous games this season.
- Review the suggested lineup. Players are placed across your sport's position layout — football zones (FORWARD / CENTRE / BACK and the half-zones), or netball positions (GS / GA / WA / C / WD / GD / GK), with the rest on the Bench.
- Tap any two players to swap them — even between positions or to and from the bench.
- When you're happy, tap Start Q1.

The on-area view
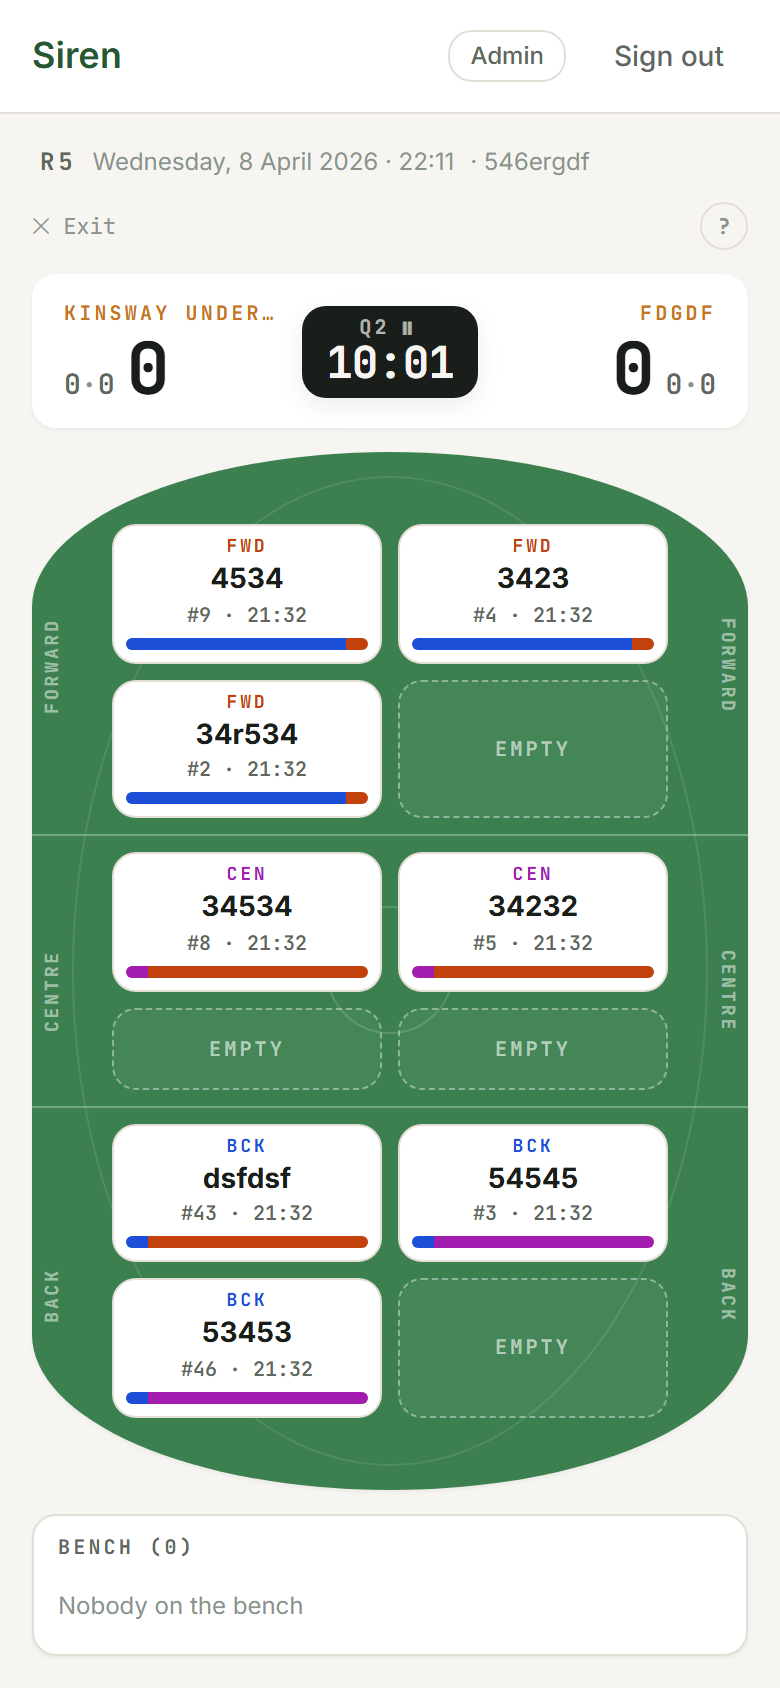
Once the quarter starts you see:
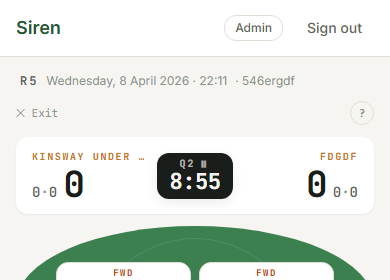
- Header: your team's score on the left, a dark clock pill in the centre, opponent score on the right. Tap the clock pill to pause or resume.
- SwapCard (football only): a dark card above the playing area showing suggested rotations and a countdown ring. Tap it to expand the details. See Rotations for how suggestions work.
- Playing area: position rows running top to bottom (FORWARD / BACK for football; ATTACK / CENTRE / DEFENCE thirds for netball), each showing players as tiles with their first name and position label.
- Bench: players not currently on the area, shown below.
Recording scores
This flow requires the Track scoring toggle to be on.
- Tap a scoring player on the playing area to select them. For football this is any player; for netball it's only GS or GA (the shooter positions).
- Tap the scoring action that appears — Goal (and Behind for football).
- A toast notification confirms the score. Tap Undo in the toast within 8 seconds if you made a mistake.
- For opponent scores, use the small +G button (and +B for football) below the opponent name in the header.
Making a manual substitution
To manually swap a player without waiting for a suggestion:
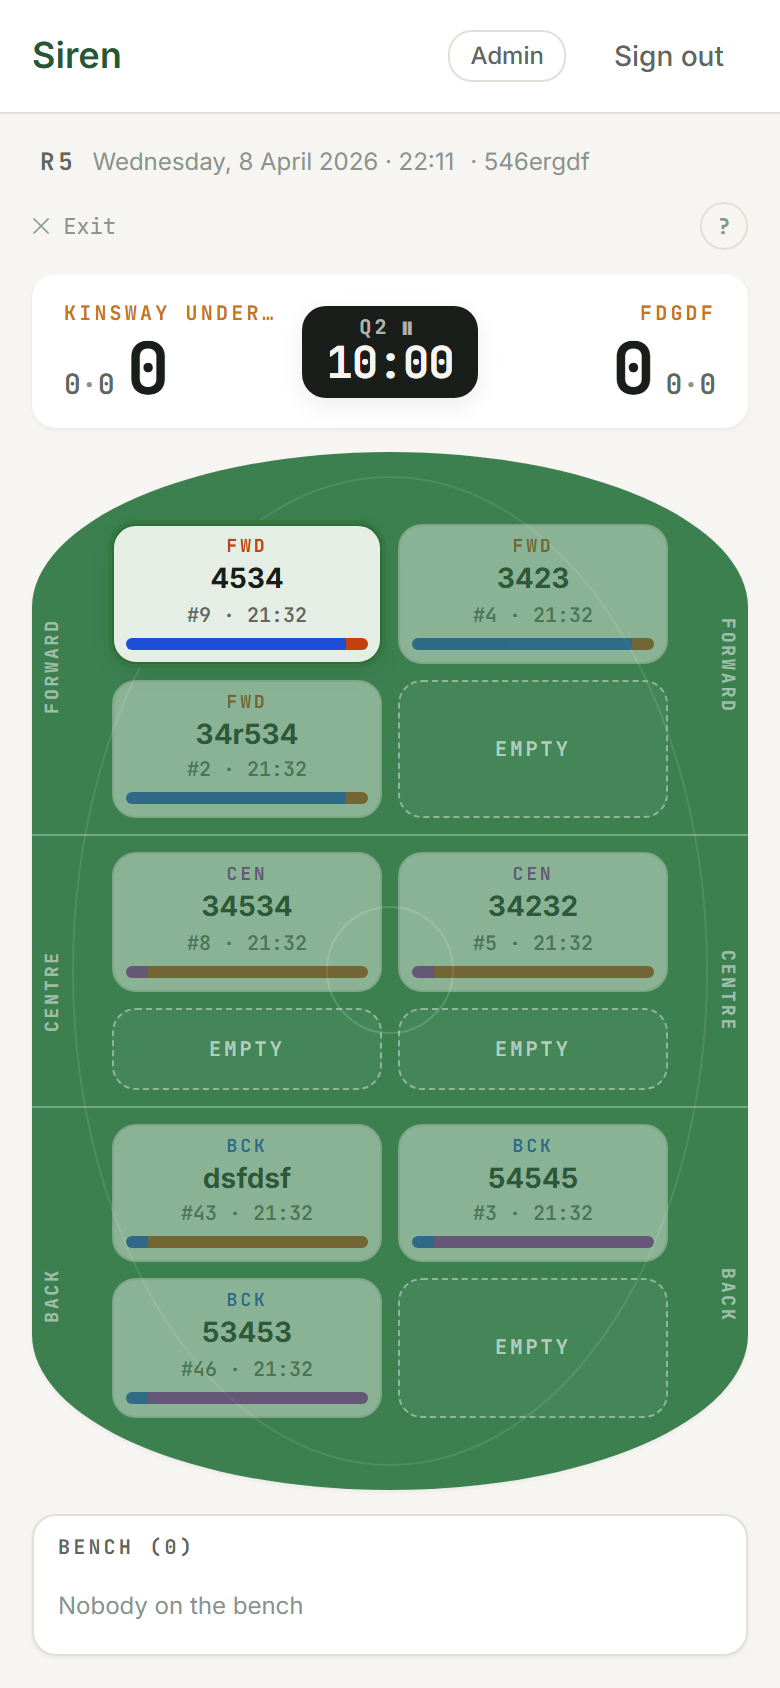
- Tap a player on the playing area. They get a selection ring.
- Tap a player on the bench.
- A confirmation dialog shows the pair. Tap Confirm to commit or tap outside (or the backdrop) to cancel.
The Sub Due modal (rolling subs)
For football's rolling-sub model, when the sub interval timer reaches zero the SwapCard pulses with a NOW countdown and expands automatically to show the suggested swaps. The sub interval is set on your team settings page.
You can tap Do next to any individual pair to apply just that one swap, or tap Do all N swaps to apply everything at once. After any swap is committed, the card collapses automatically and the timer resets.
Netball doesn't use a rolling sub timer — rotations happen at the quarter break instead (see below).
Player actions: lock, injury, loan
Long-press any player tile to open the Player actions sheet:
- Lock to area (football only): the player is never subbed out. Good for a player who needs extra game time.
- Lock to position: the player can rotate off temporarily but always returns to the same position. For netball this presents as "Keep at position next break".
- Mark injured: moves the player to the bench and excludes them from rotation suggestions. Their tile shows an INJ badge. Tap Mark recovered to return them.
- Lend to opposition: marks the player as lent (common in junior teams when numbers are uneven). Shows a LENT badge. Loan minutes are tracked separately. Tap Bring back to return them.
Ending a quarter
- Tap End Q{n} when the umpire's siren or whistle sounds. A confirmation dialog appears.
- Tap End quarter to confirm.
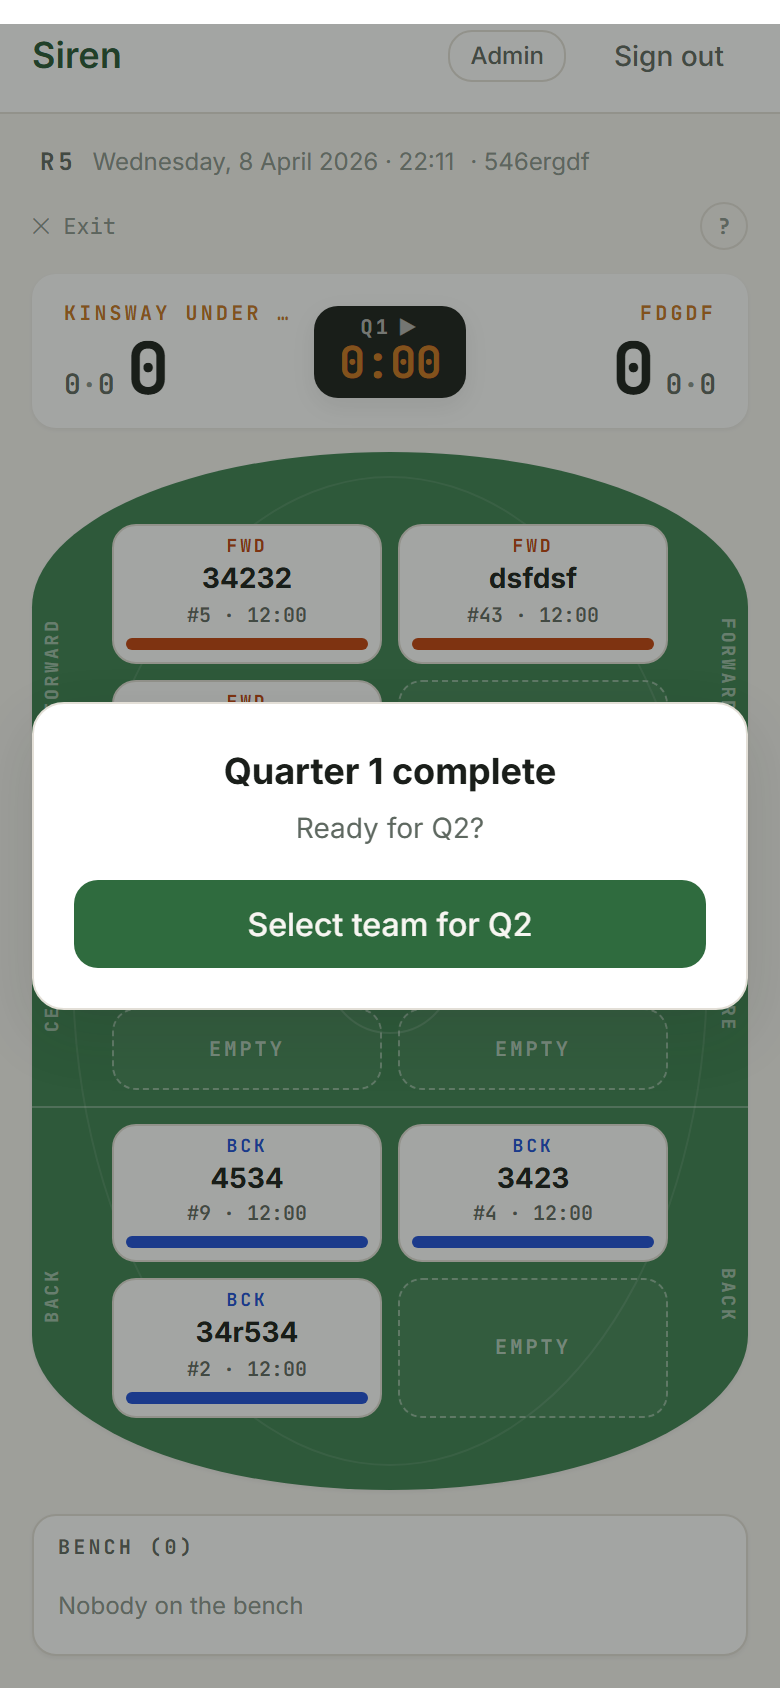
- The quarter-break screen appears for Q1–Q3. For Q4, the game is marked complete.
When the clock runs past the set quarter duration, the time display turns orange to flag overtime, but it keeps counting up so you can see total elapsed time.
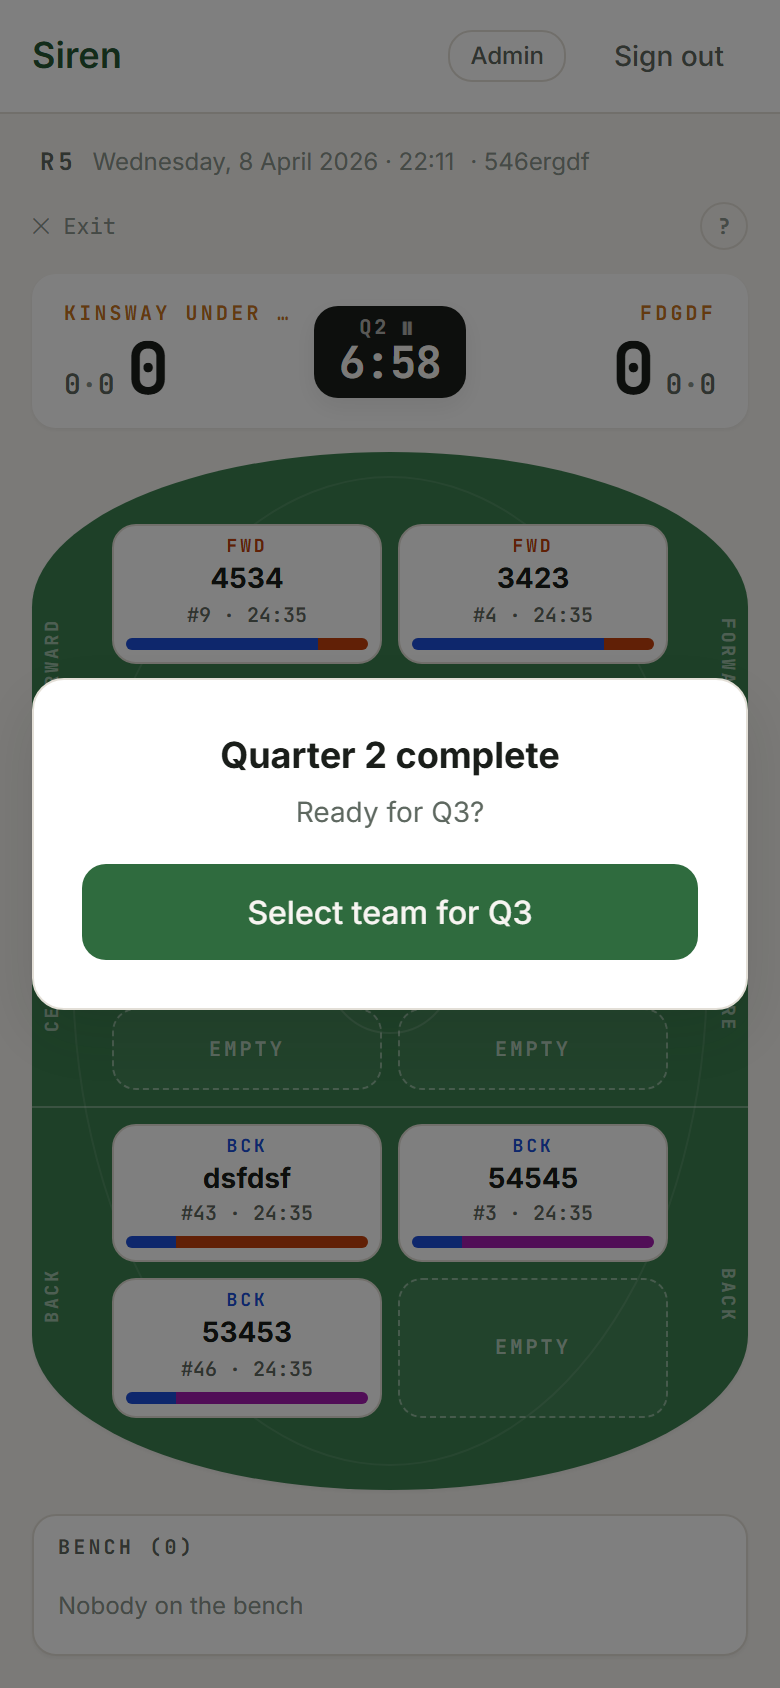
Quarter breaks
Between quarters, the app shows a Set positions for Q{n} screen. This is your chance to adjust who plays where in the next quarter. For netball this is the primary moment of substitution; for football it's an optional reshuffle on top of the rolling subs you made during the quarter.
- A Fairness score (0–100) shows how evenly time is distributed across the squad so far. 100 is perfectly even; aim for a high score by the end of the season, not every game.
- The ✓ Using suggested reshuffle button is on by default. The algorithm has already placed players in the fairest possible positions. Tap it to toggle back to last quarter's positions if you prefer.
- Tap any two players to swap them — even across positions or to and from the bench.
- INJ and LENT players are greyed out and cannot be moved onto the playing area.
When you're ready, tap Start Q{n}.
The walkthrough
The first time you open a live game, a walkthrough modal guides you through the key features for your sport: positions, bench, making a sub, reading swap suggestions, and the alerts that apply. You can skip it or step through it; it only shows once per team.
Related topics: Rotations · Track Scoring · Stats